How to Change an Old WP Admin Email Without Access
Written by ![]()

In theory, changing the contact and administration email for a WordPress site is easy.
- Log into the site and go to general settings.
- Change the email address in the Administration Email Address field.
- Log into the email address you're switching to and validate the change.
That's fine if you're just shuffling around corporate email addresses. It's a lot more of a hassle if there are contentious relationships or personal email addresses involved.
There are two potential issues here.
The first is that WordPress has to send a verification email, and sometimes, the server or the site is configured in a way that prevents the email from being sent. Or, alternatively, the email you're changing to is not set up to receive emails. Either way, with no verification, the change won't be processed.
The other problem is that the old email will receive a validation request as well. The old admin has the chance to reject the change.
A lot of times, especially with small, solopreneur businesses, the initial WordPress email address is a personal address. Sometimes, it's the address of a developer.
What happens if you no longer have a good relationship with that individual? What if you had to fire a developer, but they still have the email address? What if you bought the site from someone, and don't have access to their email address to verify the change?
Ideally, these people will validate the change and wash their hands of you. But, it's a risk. In the worst cases, they can hold administration of your site hostage (or even use their access to damage the site), leaving you in a very tough position. Even if you're legally in the right, going through the fight is a huge pain.
How can you change this admin email address without having to have someone validate the change?
Fortunately, there are a couple of options you can use. Which one you pick depends on your comfort in messing with site code, but they'll all get you where you want to be.
Before Doing Anything: Back Up Your Data!
Any time you're messing around with site administration and the underlying code, you need to back up your data. That means site data like your posts and configurations, but it also means server-side data and databases.
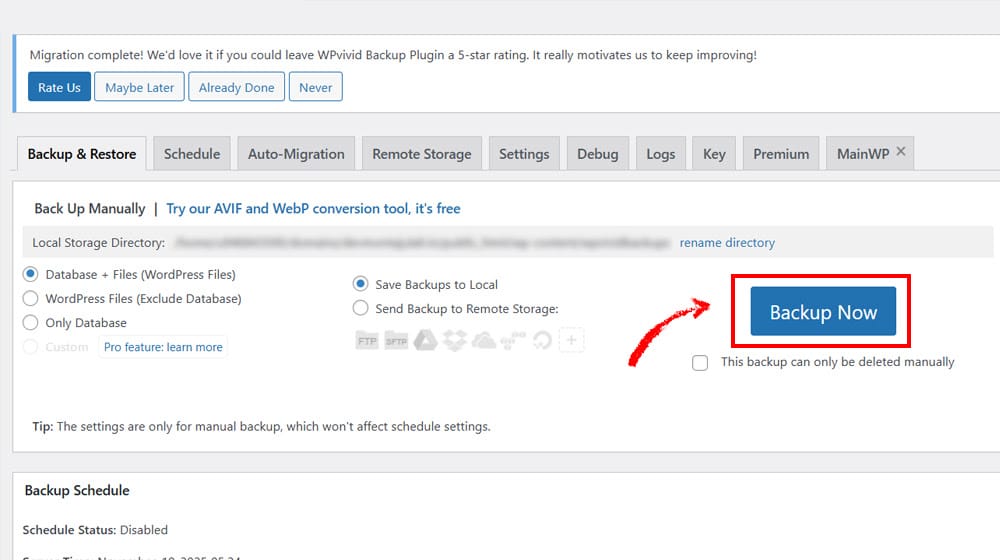
The instructions I'm giving here are specific, narrow, and limited, but it's always possible that something could go wrong in the process, and the last thing you want is to break your site without a way to fix it.
It can also be helpful to have a second, unpublished or local, test version of your site to try these things on first. I understand that this is a pretty big ask for a lot of site owners, though, so I can forgive not doing it. Unless you're a large site with whole development teams, then you really need a production and a test server setup.
Anyway. Let's get to the instructions, shall we?
Option 1: Changing Site Options with SQL
This is your "getting into the guts of the site databases" option. If you aren't comfortable digging into SQL databases and running simple queries, well, you can either learn or you can skip this option. I promise it's not as bad as it seems, and this is a pretty limited search that has low risk. But, any time you're directly accessing databases, one wrong move can have devastating consequences.
So, you know, be careful.
Here's what you do.
First, go to your WordPress admin page and change the email for the admin account. This will send the validation email to your new email address, but until you confirm it, it won't send the confirmation to the old one. That's what we're looking to change.
Next, log into your web host's phpMyAdmin for your site. This will show you a whole list of all the server database tables, where all of your site data is stored.
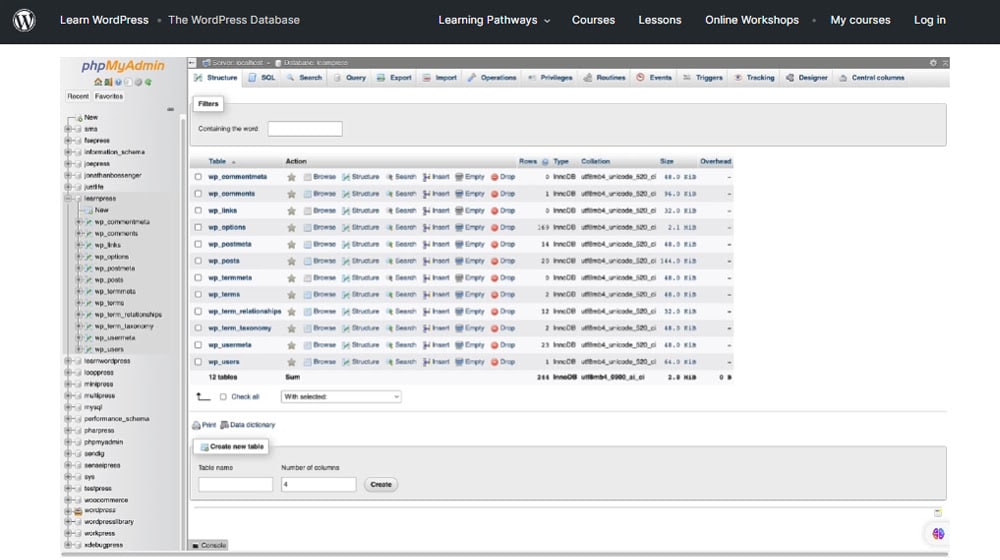
You'll see things like:
- Wp_posts, which holds all of your post data.
- Wp_comments, which holds all of your site comments.
- Wp_user, which holds your user information.
There are also a whole lot of other tables.
Next, locate the wp_options table. This is the table that stores all of your site configuration options, including things like your email administration data.
Here, you want to find two specific rows.
- Admin_email
- New_admin_email
Normally, admin_email will show your old administration email. When you try to change it in the WordPress settings, WordPress adds your new intended email to new_admin_email and requests confirmation at the new email, while sending a notice to the old email.
If you skipped the first step, you can manually change the admin_email to the new intended email here as well. The end result is the same.
What you want to do is change the admin email to your intended new email and delete the new admin email row.
By deleting the new admin email row, WordPress thinks the email has already been confirmed, and by changing the admin email, you'll have implemented the intended change.
You can run a SQL query to do this for you. All you need to do is run:
- DELETE FROM wp_options WHERE option_name = 'new_admin_email';
This executes a DELETE command from the wp_options table, looking for the specific row new_admin_email and deleting it. Short, simple, easy.
If you don't feel comfortable running a simple SQL query, you can also just manually scroll through the wp_options table, find the rows you want to change, and change them directly. It's more tedious, but doable.
A Note on Table Prefixes
Sometimes, the way you have WordPress set up will change the table prefix for your site. This is used in shared web hosts a lot, so that there's no base "wp_table_names" and instead each site gets its own prefix. So, you might not find wp_options; instead, you'll find something like "4yU3p_options" as a custom prefix for your site.
To check what your table prefix is, just look at it when you log in. It should be the only one you can see. You can also check your wp-config.php file, which will tell you what the prefix is.

Then, just run the same query as above, except change the table name to the one with the prefix. So, something like:
- DELETE FROM 4yU3p_options WHERE option_name = 'new_admin_email';
That's it!
Option 2: Use Bypass Code
The second option you can use is a manual change to the code in your WordPress admin dashboard. This is a little safer than mucking about with your database tables directly, because it sandboxes changes made and is fairly easy to revert. Still, back up your site!
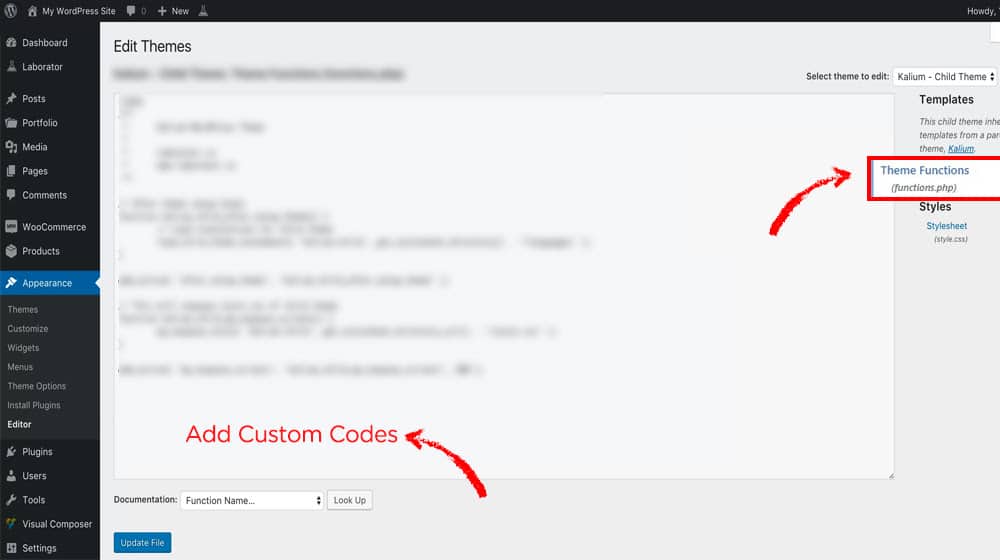
To do this, you will need some kind of code snippet manager. WPCode is a popular option and allows you to do all sorts of fun things to optimize your site.
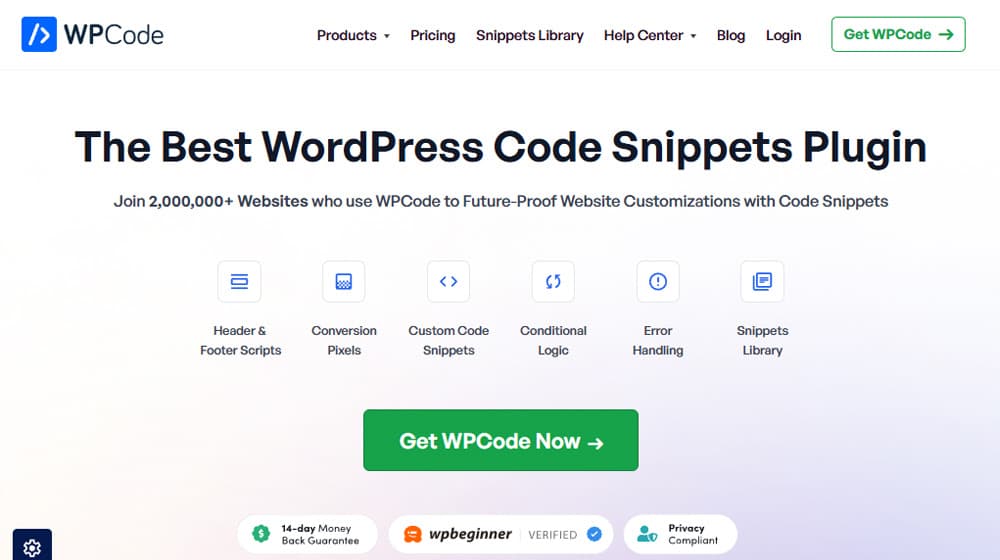
WordPress has a file called functions.php, which is where all the various site functions are kept. You can edit this file directly, but it can be risky to do so. Plugins like WPCode allow you to create custom functions that are dynamically added to functions.php, without the risk of breaking anything in the process.
Each snippet can be stored individually, too, so they can't interact with one another in weird ways. It also benefits you in that they aren't reverted when WordPress updates, like the normal functions.php file is.
Using WPCode, you can add a new PHP snippet. Name it something like "disable the admin change verification email" or whatever you like, just so you remember what it does.
The code you want to add will look like this:
- // Disable WordPress Administration Email verification Screen
- add_filter( 'admin_email_check_interval', '__return_false' );
The first line is a descriptive comment, and the second line is the active code. It adds a filter that checks if there's a line looking for an old email validation function, and if there is, sets it to not needed.
You can then choose the "auto insert" option to make sure the code runs automatically. You'll also want to make sure it runs in the admin only section, and save it. Then you're good to go.
As an added bonus, since this approaches the problem from a different angle, you don't need to worry about WordPress table prefixes. It should just work.
Option 3: Using a Bypass Plugin
Your third option is to use a plugin that does one of these previous steps, just automatically and without you needing to mess around with code at all. While it's easy enough to copy and paste a script, I highly recommend being skeptical about doing that, especially these days. People "vibe coding" scripts and not knowing how they work have deleted entire sites and databases without the chance of recovery.
So, always be cautious of scripts you find online. That's why I explain my code, so you know what it does and why it works. If you don't understand what the code is doing, don't run it.
The simplest option, then, is to just use a trusted plugin. The plugin "Change Admin Email" by johndeebdd does exactly that.
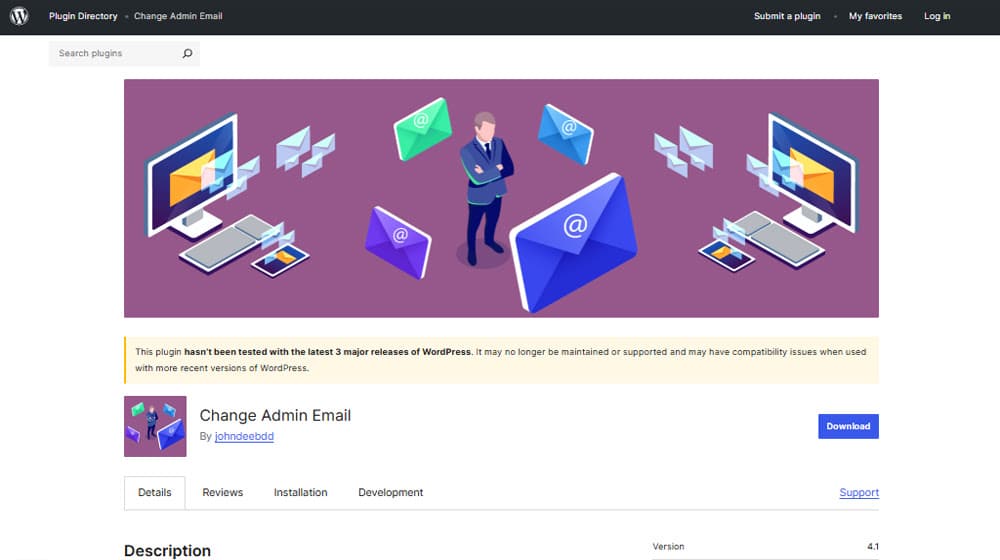
Install the plugin on your site and activate it. Then, go to your general settings and change the email address, save your changes, and you're good; no verification needed.
Note that this plugin has a "test email" button that it adds to your console. This allows you to still force-send a validation email. Note that it uses the plugin developer's email account to do this, so it can feel sketchy, but it's just a test email, so it's not giving them access to anything. The whole plugin is also open source, if you want to dig in and see what it's doing, as well.
If you don't like how this plugin works, it's not the only one. Another option you could use is Make Disable Admin Email Verification Prompt, the clunkily-named plugin from Aims Infosoft. This plugin adds a new checkbox to your general settings asking if you want to disable admin change verification. Check it, change your admin email, and you're good to go.
Alternative Options
If, for some reason, none of the three options above work, there are a few other things you can try.
One thing you can do is edit the user set as admin. This is also something you do from your phpMyAdmin dashboard, like in option one.
In this case, you want to find the _users table, which is the table containing all of your WordPress user accounts, from admin to editor to custom accounts. (Again, it can be wp_users or a prefix_users, either or.)
Here, you'll need to find the specific user who is set as the old admin. You'll see their data, and critically, you can see the user_email field. This is the email address attached to the account. You can change this to your new email address.
Now, when you send the email confirmation and validation, it's sent to this email address, and the user's old email address doesn't get a notification.
There are also other code-based instructions you can follow, if you want. If you're more used to managing WordPress through wp-cli, or if you want to use custom functions.php code, you can find documentation here.
Frankly, if you've made it this far down without finding an option that works for you, you probably would be better served with reaching out to the old admin and just talking about it. Sometimes, that's the easiest solution to a problem after all.


Comments