How to Create Great Blog Images (Tips, Tools, and More)
Written by ![]()
What's the difference between a good blog post and a bad one? More often than anything else, the answer is images. Images are essential, even though they might not seem like it. After all, no one comments on your blog posts saying "nice pictures!" But:
- Tweets focusing on images get 35% more retweets.
- Facebook image posts get much more exposure, and 87% of the top posts on the network are image posts.
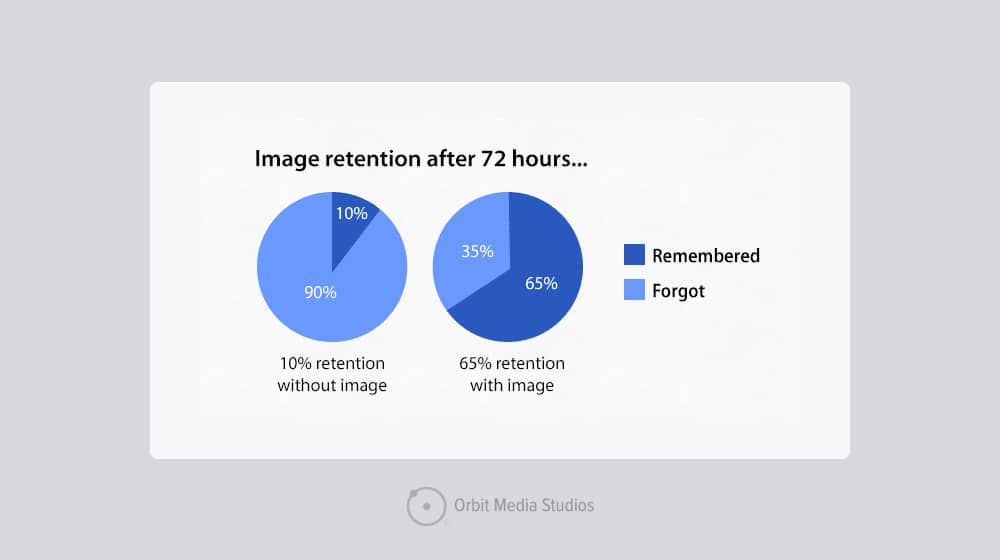
- Surveys indicated that a memorable image makes a post much easier to recall later on.
Those stats come from Orbit Media, but I've seen similar information all around the web for years. The numbers may change up and down a bit from year to year, as algorithms adjust for whatever shenanigans marketers are trying to pull, but the fact remains the same. People are, in general, drawn to shiny and attractive pictures more than anything.
I'm a marketer, fully aware of the tricks, and even I have occasionally clicked posts just because the image was weird, and I wanted to see what purpose it served.
(I'd say 99% of the time, "get you to click" is the purpose, and the image isn't necessarily valuable to the post, but that's another story.)
So, what can you do to make better images?
I have tips for you, tool recommendations, and a whole lot more.
Key Takeaways
- Unique images outperform stock photos for SEO, branding, and Google Image Search rankings, as stock photos appear across multiple competing sites.
- Blog images serve three main purposes: tutorials, data visualization evidence, and symbolic representation of abstract concepts.
- Technically, images should be properly sized, compressed, use WEBP format, and include descriptive alt text for SEO and accessibility.
- Tools range from beginner-friendly Canva to intermediate GIMP to advanced Photoshop alternatives like the free web app PhotoPea.
- Building a reusable asset library lets you quickly assemble unique symbolic images without starting from scratch each time.
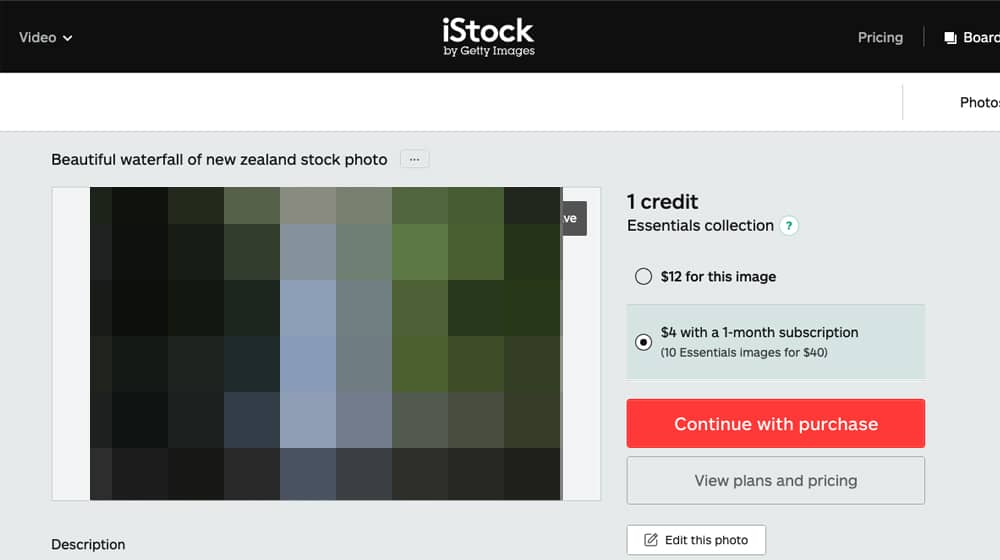
About Stock Photos
So, stock photos. These are the elephant in the room that we have to discuss. You might have noticed that I've written a guide on sites you can use to find stock photos, but also that many of my blogging guides tell you to stay away from stock images. So, what's the deal? It's a little more complex than it might seem.
First, let's talk about the reasons why you shouldn't use stock photos.

They're not necessarily unique. Do you know the old sitcom joke about showing up to a party in the same outfit as someone else?
"Well, one of us is going to have to change."
How would you feel if you shared your post on Facebook, only to find that the featured image you used is the same one someone else used?
While that's not necessarily a problem, it does mean you lose out on a lot of unique value you would otherwise get. More importantly, though, some potential SEO concerns are worth mentioning.
Google Image Search is an excellent source of traffic these days, though it's much harder to target. The best you can usually do is upload a unique image, add very descriptive alt text and keywords, and hope it ranks well. A stock photo, though? Not only is your version not the only version, but two dozen stock photo websites will also have it visible, and there's a pretty good chance that they'll all outrank you.
There's also the theory that Google is either penalizing duplicate images like they penalize duplicate content - or at the very least, that it's a ranking factor or that it will become one in the future. It makes sense; sites that copy articles shouldn't outrank unique content, so why shouldn't it be the same for images? Why wouldn't it be a quality factor? Food for thought. Do stock photos actually hurt your SEO? It's worth reading up on - you can start with whether creating unique images actually helps your SEO. You can also use a SERP feature opportunity analyzer to better understand how images and other elements factor into your visibility.
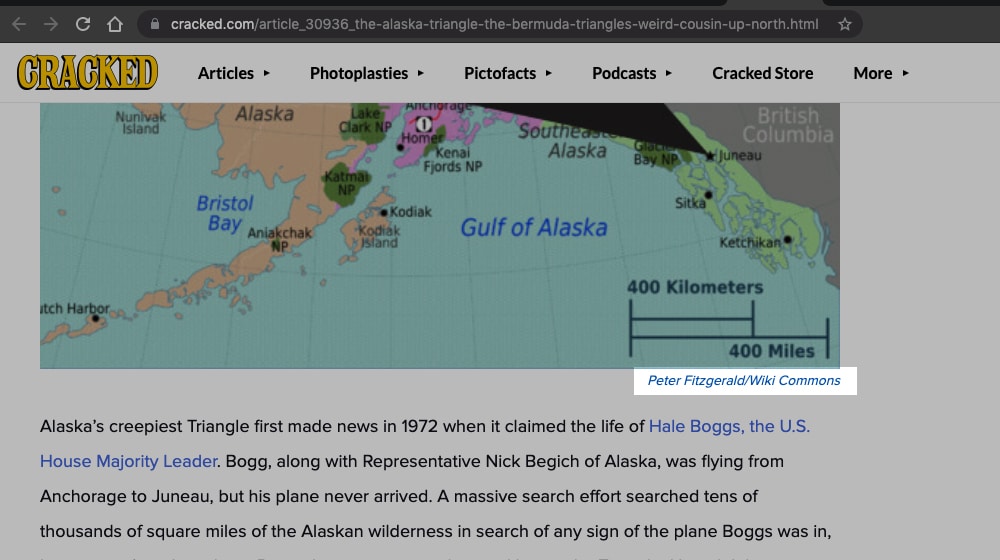
You have to license them, and some require you to display attribution. If you've ever read content on news sites or a site like Cracked, you'll see attribution beneath every image. "Image © The Associated Press" or "Image from Getty Images" or what have you.
Attribution is good! Without it, you're stealing and committing a copyright violation. However, attribution is also unsightly, and it takes away from the image. It might be taking the place of the caption, or it might be cluttering up an existing caption. Moreover, it tells everyone that you're using stock images. Many people don't care, but some do, and that's not generally a good thing.
Stock photos don't convey your brand. Images are part of your branding. You might have noticed that I have a distinct graphical style. Every blog post I publish has consistent images, even if they aren't covering the same subjects. Just check out my blog index; you can see how they all kind of look similar. While you might think this means they don't stand out, it's the opposite.
If you're a frequent reader of my blog and see an image like these online somewhere else, you'll immediately associate it with me. And, chances are, it's probably me, guest posting on another site. Well, or one of my clients, though, I try to establish a unique twist on the graphical style for each client I work with.

Stock photos don't have this kind of distinct uniqueness. Most of the time, you can't even add your logo because they tend to have licenses that say you can't modify them.
Some stock photo sites are insanely predatory. Something I wrote for a previous post about copyright violations:
"Getty Images is particularly vicious about this kind of thing. They're one of the most famous and prolific stock image sites in the world, and they charge a premium for their stock photos, require attribution for everyone, and worse, have very restrictive usage terms. For example, it doesn't matter if an agency has a license to use a photo; you also need a license if they use it on your blog.
Worse, Getty is very aggressive about pursuing these kinds of violations, which is why not just the company as a whole but a dozen of their executives and "copyright specialists" are listed on that copyright troll site. They explicitly make it challenging to navigate copyright through them and aggressively penalize you for messing it up."
Depending on how you're using stock photos, you might be opening yourself up to all manner of irritation, legal trouble, and stress.
So, why do stock photos exist? Well, they have a lot of valid purposes. If you're the kind of artist who makes collages or heavily manipulates photographs, and you can buy licenses that allow you to modify images, then you're free to do so.
I think of it as a tier system. The worst thing you can do is have no images at all. Stock photos without modification are better than no images at all. Modified stock images, if you can do so, are better. Unique images are better still. However, Google's increasingly sophisticated image analysis algorithms can still lump them together with the original, depending on the extent of the modifications.
Determine the Purpose of Your Images
Before creating images for a blog post, you should know what purpose your pictures will serve. In my mind, there are only a handful of general purposes.
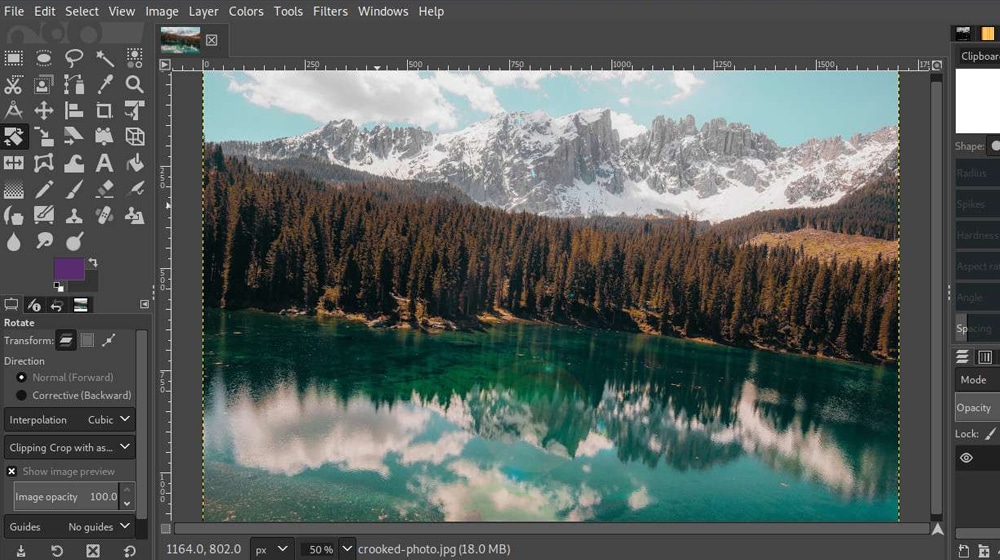
Tutorials. When you have a blog post teaching a user how to do something, images should be relevant to that process. A food blog should include photos of the process of making a recipe so that users can compare their attempts to that of a professional. For me, for a post like this one where I give you ways you increase a blog post ROI, each tip has an image that illustrates that tip in action. Any step-by-step process should have pictures to explain each step, whether it's a photograph of disassembling a laptop or screenshots of using a web app.
Evidence. Data visualization is the easiest way to parse information. One of the most extreme examples is this visualization of wealth distribution. One pixel on the page represents $1,000, and various milestones along a chart show off different levels of wealth. (Be careful; that page will probably make you mad.)
On a more level for blog posts, screenshots or renders of charts and graphs are the most straightforward option to display data in many cases. Whether it's a chart of traffic over time, a bar graph showing social shares on different platforms, or what have you, images that show the data are much easier to parse and retain than writing them out in the text.
Symbolic Value. You can't always directly illustrate something or take a screenshot of it, but you still want to create a unique image to represent it. That's where you get into symbolic value. For example, in a post about blog promotion, I wrote a section about mention trading; you partner with someone else who has a Facebook page, and each of you mentions the other in a mostly organic way. The image I used to represent this is this. Simple, symbolic, easy.

Why use symbolic value? Well, I can't go out and find an example of two Facebook pages mentioning one another without spending quite a bit of time looking, so I don't. It's easier. Is the image less valuable than if I had? Probably. Does it matter? Not hugely - especially when it's just one out of 22 pictures on that one blog post, where most of the rest are evidence images.
These are the three primary purposes of images on a blog. And, of course, you can mix and match them. I often use a symbolic image for my featured image and then use evidence and tutorial images throughout the post. When creating images, pick the best purpose for the context of the image itself.
Technical Details
Now let's talk about some of the technical details you should consider when making and using images for your blog.
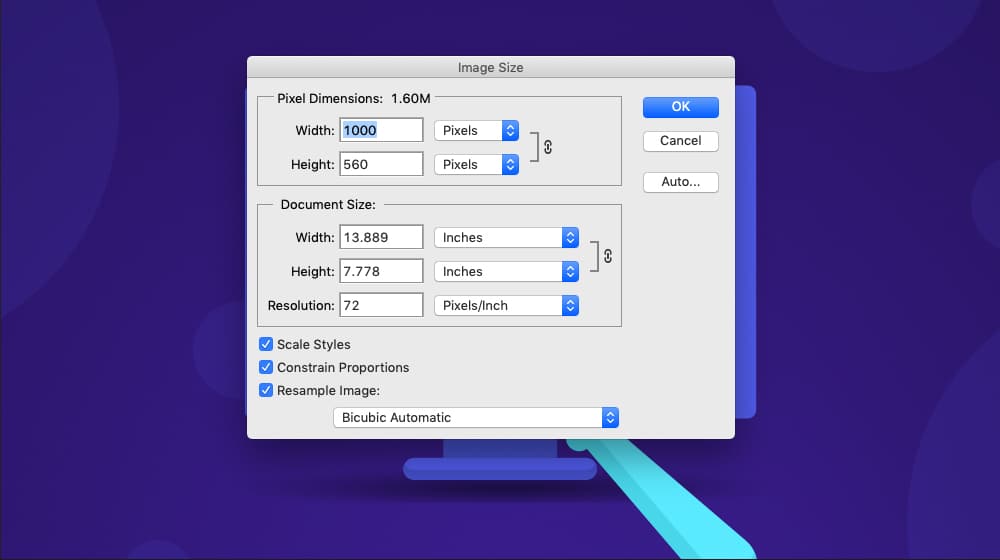
1. Image dimensions. Your blog's theme likely has maximum pixel dimensions for the main content area. Figure out what that is and use that pixel measurement as the width of your images. Most digital cameras take pictures much bigger than a site will display them inline, and working in a tool like Photoshop makes it easier to make obscenely huge vector graphics. However, if you're uploading a massive image and using code to scale it down, it slows down your site speed and hurts your SEO. Remember, too, that a responsive design will be scaling the image down for mobile use, so you should keep it as small as possible for fast loading.
2. File size and smushing. "Smushing" is a term for compressing an image to make the file size smaller without altering the image's dimensions or quality. It's exciting what automated tools can do to cut file size out of an image without a quality loss in the image itself. I wrote an entire post on why you should do this and which tools are the best for doing it, so give that a read.

3. Use alt tags and descriptions. When you upload an image, you're able to specify several pieces of text surrounding it. The caption, the alt text, and the title are the three big ones. The caption is visible to readers, but the other two are metadata primarily visible to search engines.
- Alt Text displays when a user hovers their cursor over the image, and that little tooltip appears. It should be descriptive of the picture because it's also the text read aloud when using a screen reader (accessibility and usability feature.) Additionally, it's the primary text indexed to help an image show up in Google search. It's surprisingly essential for something no one can see right away. You can use our anchor text analyzer to see how your images are performing.
- The description is a WordPress-specific field. It has a similar purpose to alt text, except instead of becoming metadata, it shows up on the image attachment page. Since it's generally best practice to disable attachment pages, you can usually ignore this field.
There's also the title of the image. The title is usually auto-filled by the filename of the picture. It's also used in the attachment page and nowhere else, so you can ignore it unless you're using attachment pages. It's usually best to name images something descriptive before uploading them anyway, which will auto-fill the title with your filename as descriptive text by default.

4. File format. JPG? GIF? PNG? These days, the wave of the future is to use WEBP as your image format. All of the modern browsers now support it. What is a WEBP? It's a highly optimized compression algorithm for images, offering dramatic filesize savings with zero drops in quality compared to equivalent JPGs, PNGs, or other formats. Essentially, it makes your photos a lot smaller, so they load a lot faster. You can set your site to use WEBPs by default and have code that detects if a user can't view them and display a backup non-WEBP instead. The file size is a site speed factor, and a faster site ranks better.
Image Creation Tools
Now let's talk about the tools you can use to create images. You have a lot of options out there, ranging from beginner to advanced.
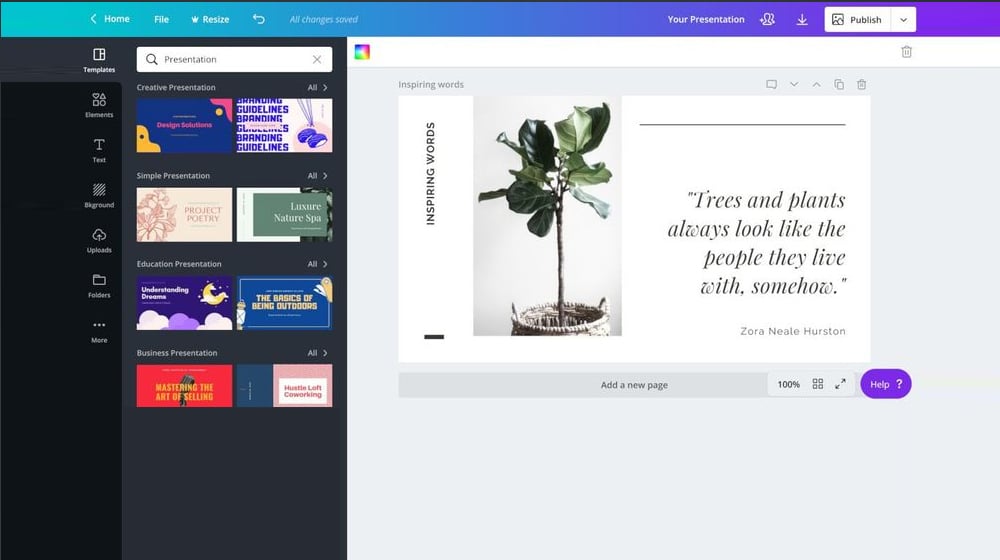
1. Beginner tools are tools that are super easy to use. My number one recommendation is Canva. It's a beginner tool because it comes with hundreds of templates you can customize, with a vast library of free stock assets that, when combined, can create excellent images even if you have absolutely zero graphic design training or talent. You can also save a library of your templates and maintain a consistent visual design across your site. There are also many Canva alternatives, most of which work in the same way, with slightly different pricing models and different libraries of assets.
2. Intermediate tools require little experience, training, or graphic design skill to use effectively. Tools such as GIMP (Gnu Image Manipulation Program) or Paint.NET fall into this category. I call them intermediate because they're not overly complex but better than just using the default MSPaint. They have some advanced features, but they aren't as fully featured (and confusing) as Photoshop.
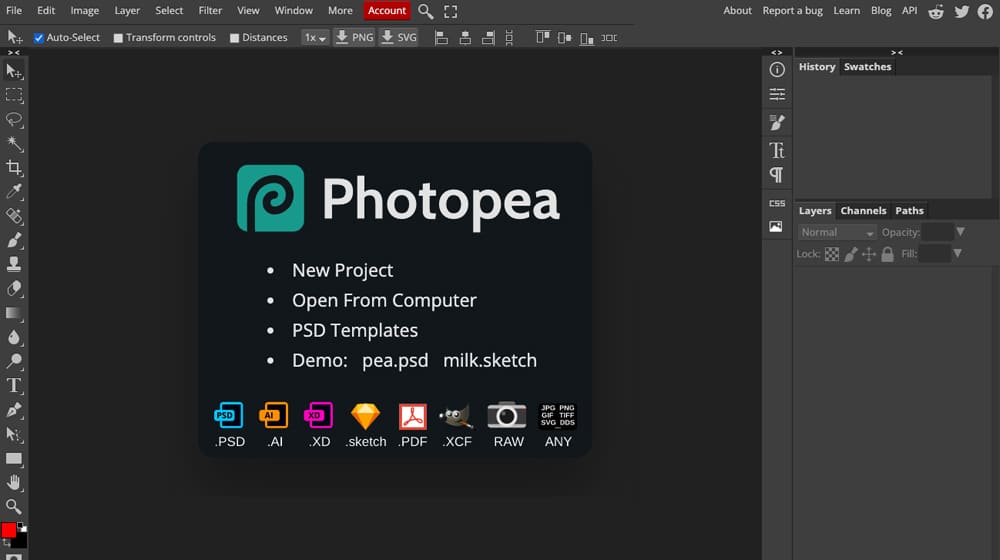
3. Advanced tools are, well, things like Photoshop, InDesign, or Adobe Illustrator. These tend to be very powerful but also expensive. Though, there's one thing I'd like to recommend, which is PhotoPea. PhotoPea is an entirely online web app, a fully functional version of Photoshop that you can use for free. It's mighty for a free app, but it has a high learning curve compared to the other options. If you're looking for faster solutions, there are also AI-powered tools that can help you generate content and visuals with minimal effort.
You can also hire someone to do graphic design for you. Hiring a pro can get you very high-quality, unique images in a fraction of the time of making them yourself (not to mention freeing up your own time to do other things you can't outsource), but it's much more expensive than doing it on your own. It's a tradeoff and one that you have to decide if it's worth making.
Assorted Tips
To wrap things up, here are some of my top tips that aren't worth making into new sections or don't need much explanation.
Here are some ideas and tips for you:
1. Use images to break up walls of text. My blog posts are packed with formatting, gaps, and pictures to facilitate skimming and help users extract more value from your articles.
2. Take your time making your images. You can't just whip up good pictures out of nothing in a few minutes. I often spend several hours making good images for a single blog post.
3. Decide whether or not you want to watermark your images. Some people find it's more effective for their branding; others find it doesn't help. It's up to you. I don't find watermarks to be effective outside of things like infographic marketing and guest posting. They're not too useful for anti-theft either, since there are tons of tools to remove them quickly.
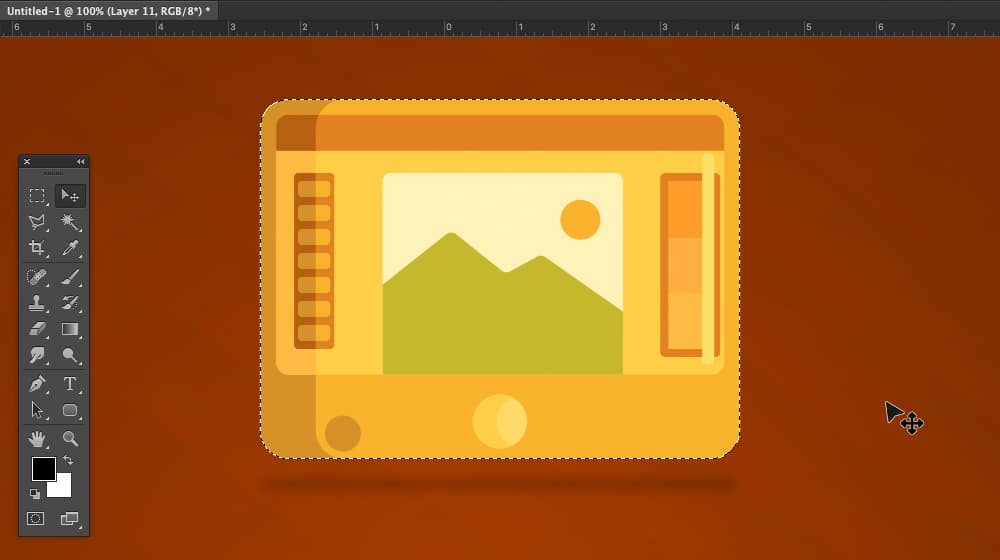
4. Build up a library of "assets" you can assemble in different ways to make unique images. Think clip art. For example, I made this image for a post.

This image was created using three stock assets (the background, the envelope, and the ©) and some color tweaks. It's unique to my blog, but it was created quickly and efficiently using stock assets. Building up a library of these assets makes it easier to throw together symbolic images when you need them.
With all of this in mind, you should be able to make some high-quality, top-shelf images for your blog. It takes some time to get used to the workflow, but trust me, once you do? It's astonishing how much blog images matter to engagement, shareability, and traffic. If you want to keep improving your content beyond visuals, check out the best tools to check the quality of your blog posts and how to structure a blog post for SEO.
What did you think? Did any of these tips help you? Do you have any questions for me on blog images? Well, don't be shy! You can ask me directly in the comments section below. Believe it or not, I reply to all of the comments I receive. Try me!
Written by James Parsons
Hi, I'm James Parsons! I founded Content Powered, a content marketing agency where I partner with businesses to help them grow through strategic content. With nearly twenty years of SEO and content marketing experience, I've had the joy of helping companies connect with their audiences in meaningful ways. I started my journey by building and growing several successful eCommerce companies solely through content marketing, and I love to share what I've learned along the way. You'll find my thoughts and insights in publications like Search Engine Watch, Search Engine Journal, Forbes, Entrepreneur, and Inc, among others. I've been fortunate to work with wonderful clients ranging from growing businesses to Fortune 500 companies like eBay and Expedia, and helping them shape their content strategies. My focus is on creating optimized content that resonates and converts. I'd love to connect – the best way to contact me is by scheduling a call or by email.


September 08, 2021
Hey James! Need some help. I tried to upload a photo in my blog and when I save it, the photo appears to be pixellated and my site is so slow to load. Any idea what happened and what the solution is?
September 10, 2021
Hey Joan,
This is an odd one.
Usually a pixellated image suggests that the resolution is too low, and a very slow loading image suggests that the resolution is far too high.
Do you know if the image has been correctly resized to the dimensions needed?
Feel free to privately message me, I'd be happy to crack this case for you 🙂
January 31, 2022
This is extremely helpful! I thought I'd always be stuck with generic stock photos and didn't even think there was any other option. Thanks, man!
February 04, 2022
Hey Johnny! I'm glad, you're very welcome. Keep it up!
February 25, 2022
Hey, I was curious, where did you get those stock assets to make the email image you created?
February 25, 2022
Hey Brandon, thanks for asking!
We mix and match different assets and purchase licenses for some of the premium ones.
The header image was from a premium icon on IconFinder:
We usually tweak these around a bit and make them our own. Sometimes images combine 5 or 6 different licensed assets, and sometimes we make them from scratch.
Hope this helps! Check out IconFinder, they're awesome 🙂