How to Add Mailchimp to Your WordPress Blog Posts
Written by ![]()

Mailchimp is one of the most popular marketing platforms out there today. It's an all-in-one marketing platform with features for lead generation, for newsletter management, for surveys, and a whole lot more.
If you want to use Mailchimp more on your website, there are a bunch of different ways you can integrate it. First, though, you need to make sure you have a Mailchimp account. If you don't, go ahead and register one now. I'll wait.
Pricing for Mailchimp is pretty simple. They have a free plan that offers a basic marketing CRM, some templates, surveys, and a few other basic features. It's overall plenty if you want to give their platform a trial run without wasting money. You can also register for the $10/month plan, which gets you custom branding, split testing, and more templates, or the $15/month plan, which gets you all of that plus retargeting, analytics, and behavioral automation. And, of course, there's a super premium plan at a whopping $300/mo, with enterprise-grade features, if that interests you.
As with most contact management platforms, your primary limitations will be on the number of contacts you can manage, how many audiences you can split them into, and possibly how many emails you can send per month. You can see all of that data on their pricing page.
Key Takeaways
- Mailchimp offers a free plan plus paid tiers at $10, $15, and $300/month with varying features and contact limits.
- WordPress users can embed Mailchimp signup forms directly in blog posts using the Gutenberg block editor via Jetpack.
- Mailchimp's RSS feed integration can automatically email subscribers whenever a new blog post is published.
- The official Mailchimp WordPress plugin is outdated and not recommended; third-party plugins like MC4WP are better alternatives.
- Mailchimp supports multiple placement options for signup forms, including pop-ups, sidebars, footers, and embedded HTML forms.
Ways You Can Use Mailchimp On Your Site
So how can you go about making use of Mailchimp on your WordPress site? There are a few ways they offer by default, and a few others you can get from plugins from third parties. Let's look over some options to give you ideas.
First of all, you can embed a sign-up form in the middle of a blog post. This is made extremely easy with WordPress using the new block editor; it's simply a Mailchimp Block, which you can add in between paragraphs or other blocks.
Secondly, you can use Mailchimp to create landing pages for you. While it's not really being used "in blog posts", you can link to a landing page from a blog post, from an ad, from a social media post, or wherever else you want to. Your landing page can then be focused on selling yourself as a great newsletter to join, with all the various benefits the user can enjoy if they add their name to your hat.
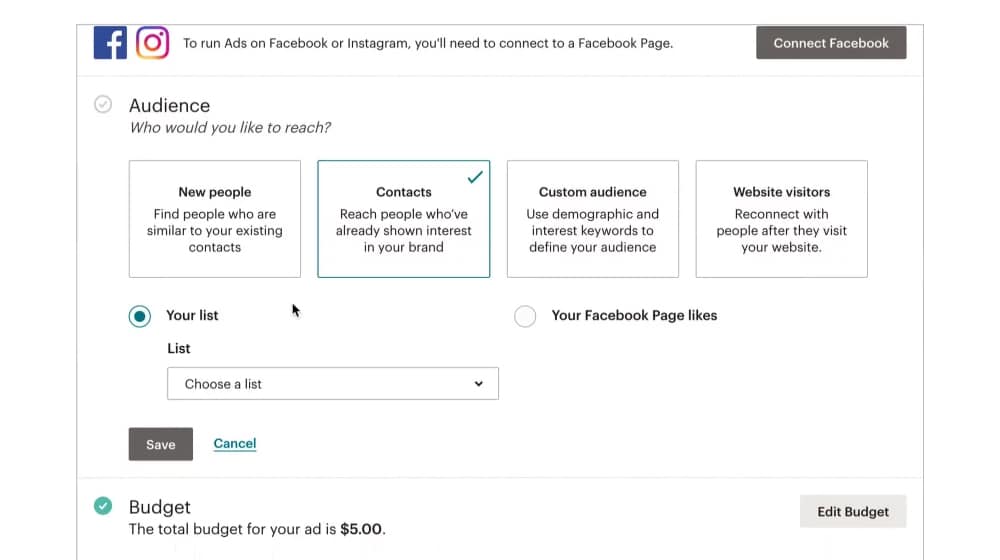
Another feature Mailchimp offers, which isn't quite integrated into your blog, is social media posting. It's a feature that people don't often talk about Mailchimp being able to do. You can use their platform to store design assets and put together social media posts for the popular platforms (most notably Facebook, Twitter, and Instagram) and schedule those posts. You can then use those social media posts to encourage users to click through to your blog, or to sign up for your newsletter directly.
Another "in reverse" option you have is the ability to use your blog's RSS feed as a trigger to send emails. When you publish a new blog post, you can configure Mailchimp to send out a notice to your subscribers that a new blog post has been published. I will say, though, this is best used if you have a sporadic release schedule or don't publish super often; people don't like getting more-than-daily emails if you publish that frequently.
Finally, you can use signup forms pretty much anywhere on your site, powered by Mailchimp. You can embed the form in a sidebar, in your footer, in a slide-in box, in a pop-up, or whatever you want. They're easy to customize, position, and time to fit your website as closely as possible. They even work on mobile devices. If you want more ways to promote your blog across your site, there are plenty of options worth exploring.
Hopefully that gives you some ideas. Now let's talk about how to actually do each of those things in detail.
Using the Mailchimp Gutenberg Block
The first and easiest way to use Mailchimp in your WordPress blog is to just use the new block editor to do it. Any modern WordPress.com site uses the block editor, and anyone using WordPress.org should update to it sooner or later. Yes, I know, it takes some getting used to, and a lot of people don't like it. Some like it much better than the old version. If you're currently using Gutenberg blocks, keep reading, otherwise, you can skip this section.
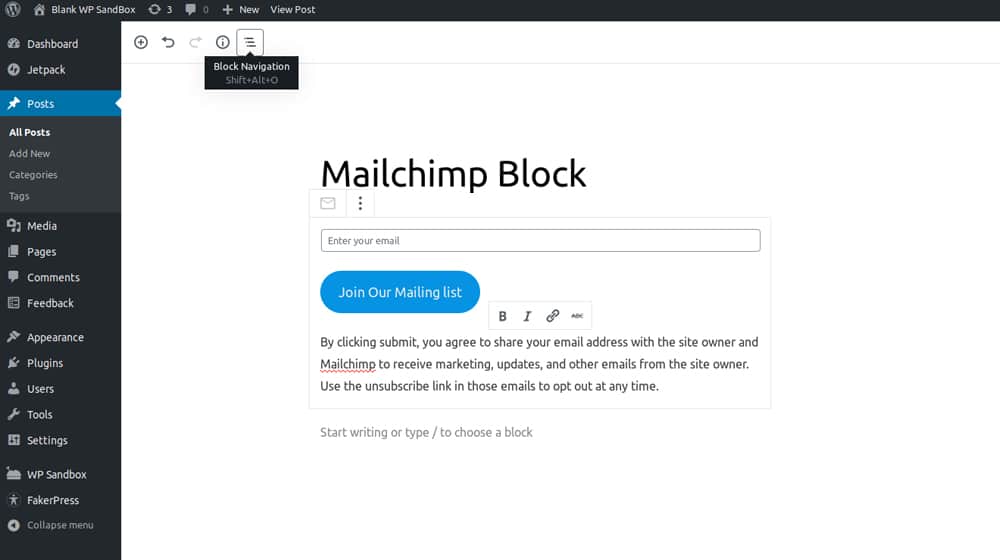
Mailchimp's block is included in Jetpack, which is included in WordPress.com sites. If you want to add it to your WordPress.org site, you need to get Jetpack for your site as well. You can get it from here. I believe the free plan should be enough, though Jetpack has a whole lot of other really nice features you can get for a small fee, so it's worth looking into if you want.
When you want to use the Mailchimp block, all you need to do is add it. Just search for Mailchimp in the blocks list and add it to your post wherever you want it.
You can customize some elements of the block. Specifically, you can change the placeholder text in the email form box, the text on the submit button, any ToS or disclaimers, the success message when a user adds their email address, and the error message that pops up if there's a problem. Overall, it's pretty simple, but it's easy to use and it works. If you want to track changes to your posts over time, check out the best ways to track content updates in WordPress.
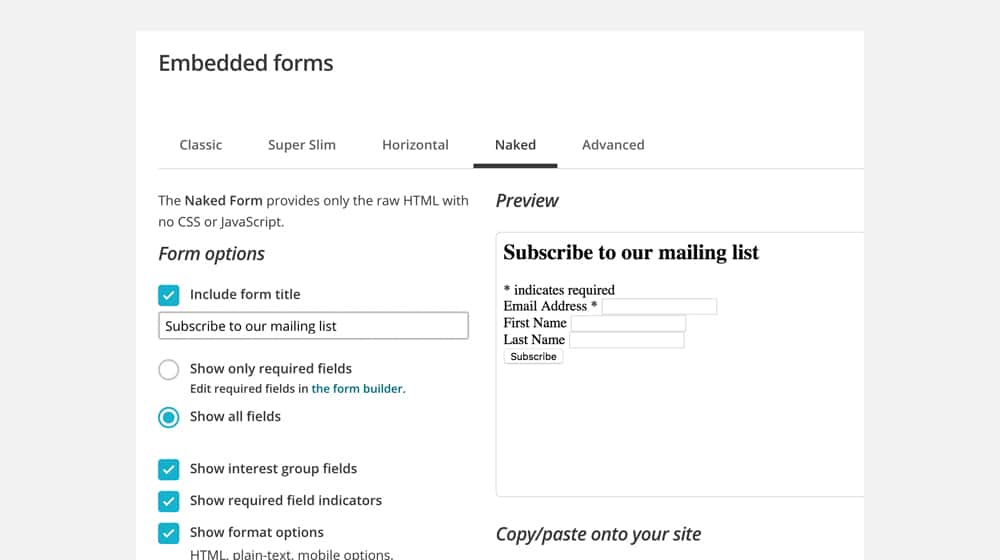
Embed an HTML Form
If you aren't using the block editor, or you otherwise want to control the code more directly, Mailchimp allows you to embed a form that you can customize a lot more than the basic block customization.
In order to do this, you need to use the Mailchimp form builder tool. Use that tool to create a signup form with as much or as little required information as you want to try to harvest. In general, remember that the less you ask for, the more opt-ins you'll get because each additional piece of information is another bit of effort and another chance for a user to second-guess themselves.
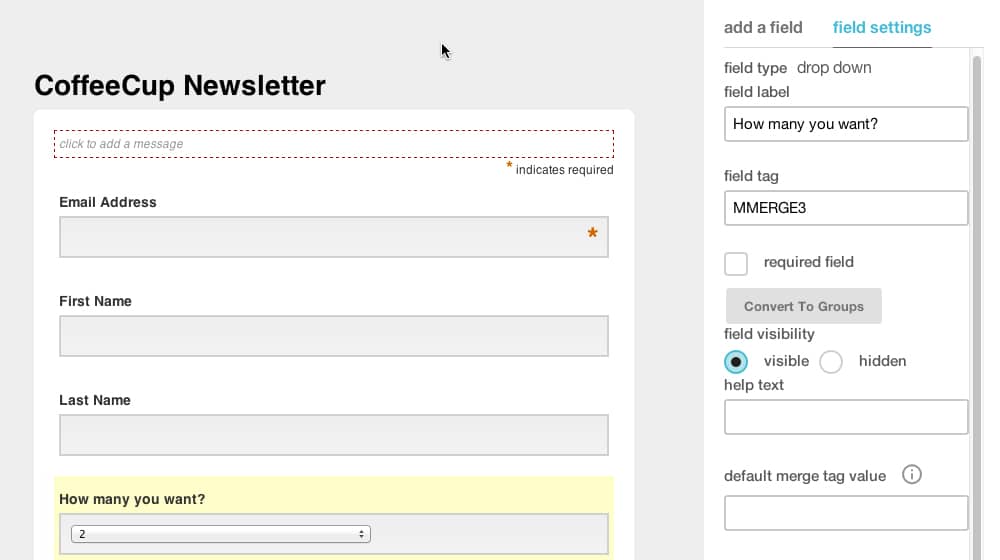
One benefit of using this method is that Mailchimp's form builder has a bunch more features than the block editor on its own. You can enable GDPR mode and show a legal disclaimer. You can choose between four different form styles. You can make the form inherit styles from your site's CSS. You can use SSL for the form, and you can use reCAPTCHA for anti-spam security. There's a lot there.
Once you've generated the form, it will be given to you in the form of some HTML code. You can copy and paste this code into your website, and it will embed the relevant form with all of the data you specified. It's generally a pretty simple process, though it's not really as useful for a WordPress site as it is for a site using another site builder or custom code.
Create an Opt-In Pop-Up
Do you know those exit intent pop-ups that show up after you've been browsing a site for a while? Sometimes it's time-based, sometimes it's scroll-based, sometimes it's based on your cursor leaving the window or the window losing focus. You've seen it a million times, I'm sure.
Mailchimp allows you to build one of these forms too, similar to how you can build a form with their form builder. In fact, it uses the same form builder, but you choose a subscriber pop-up instead of a traditional form.
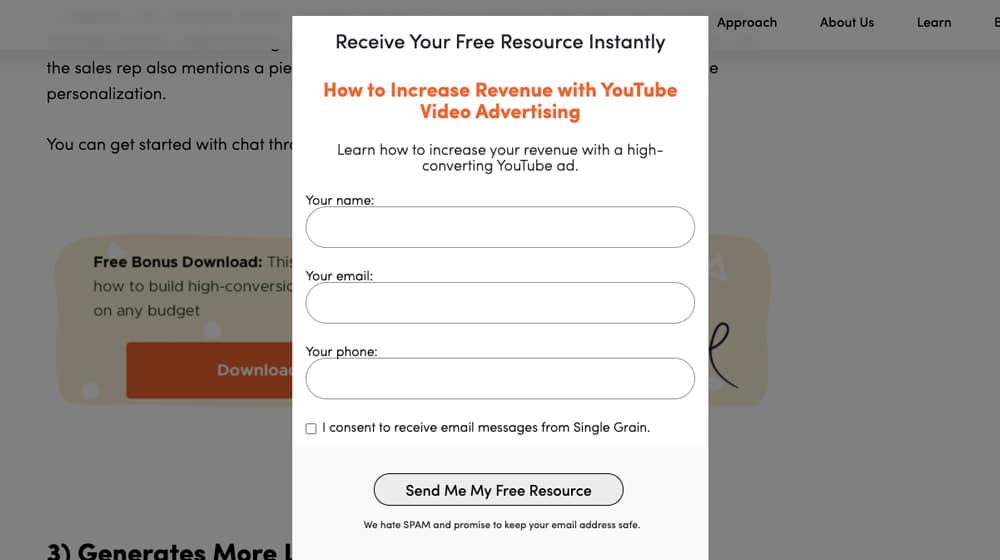
You have a handful of styles to choose from and can customize different options, like layout, text, and GDPR support. You can use a text comparison tool to check your copy before and after edits.
Much like with the forms, you can integrate this pop-up through Mailchimp's built-in integration, or you can copy and paste the script code they give you and add it to your site directly.
You can follow all of the instructions on this page to set it up for you. If you're also looking to manage opt-out preferences for your audience, that's worth considering as well.
Using the Official Mailchimp Plugin
Mailchimp has an official plugin for WordPress. It's the "list subscribe form" plugin, and it allows you to add a signup form widget, similar to how you can just add a block with a signup form in it, only for sites that use older versions of WordPress and don't use the Gutenberg Editor.
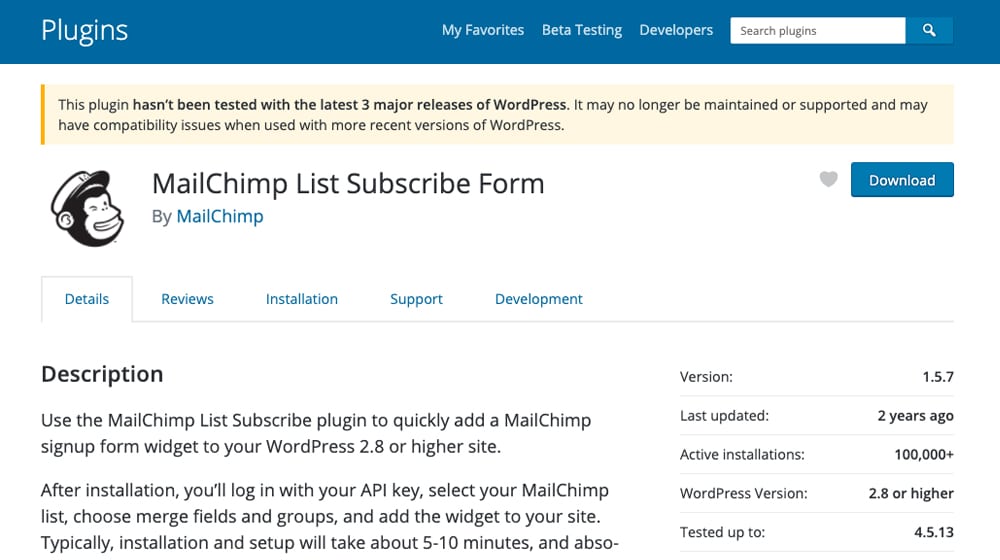
You can find the plugin here. It's pretty simple and you have to have a paid version of Mailchimp in order to use it, I believe. Unfortunately, the plugin hasn't been updated in two years, and that includes the description. They've changed their pricing plans since then.
Honestly, I have a hard time recommending this plugin. If you're using an older version of WordPress and you have a paid version of Mailchimp, it should work fine, but that's only for a certain definition of "fine." I really hate using plugins that are out of date, because over time they start to rack up bugs and inconsistencies with modern versions of the platform. Sticking around on an old version of WordPress is a security risk and I can't recommend it for anyone. Still, the option is there if you want to use it. If you're evaluating other tools for your site, it's also worth knowing what the best WordPress plugin options are for your blog.
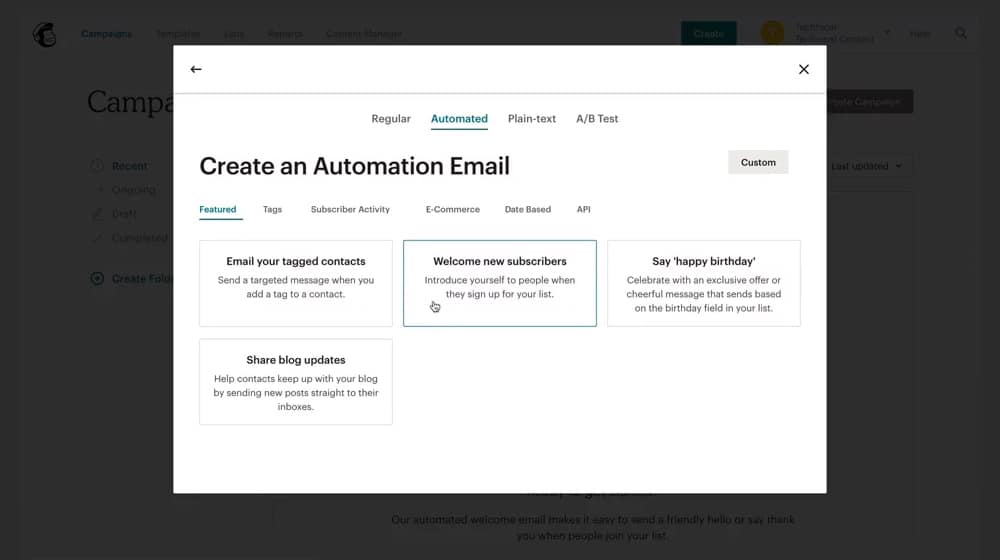
One of the options I mentioned up above was the ability to use your RSS feed to send a new email to your mailing list whenever you publish a new post. Here's how to do it.
First, you need to find your RSS feed. Typically, this will be at yourdomain.com/feed/ by default, though you can also find narrower feeds for specific categories, authors, or tags.
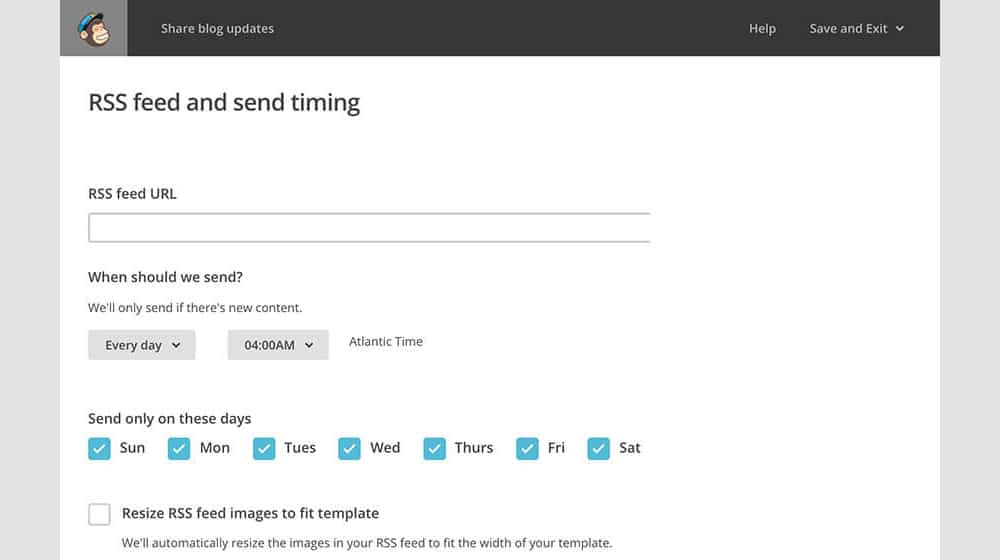
Next, create a campaign in Mailchimp. The option you're looking for is under the Automated tab, and it's called "share blog updates."
Configure this option as you desire. It'll ask you for the RSS feed, so paste in the URL of the feed. Choose when - day and time of day - to send out your updates. Then start filling out campaign info. You'll need things like the name, the subject line for the email, preview text, and so on. Note that for things like the email subject, you can use wildcards that pull information from the RSS feed to populate it. Something like *|RSSFEED:TITLE|* will pull in the title of the RSS feed.
Now you have to design the email. Mailchimp has a range of templates to choose from, so pick your favorite and customize it. The main elements you need to make sure are in your email are the dynamic RSS Items. Drag these in to make sure your email has info pulled from the RSS feed.
Once you have your template created, it's just a matter of refining it. Add your logo, add any extra text, add a block of social media links, and whatever other information and content you'd like. If you also want to automatically publish your posts to Medium, that's another great way to extend your reach beyond email.
Use Another WordPress Plugin
If you don't like the official Mailchimp plugin for WordPress, you're in luck; there are a handful of others you can choose, which have more features, more recent updates, and compatibility with modern WordPress. Let's take a look at them.
Mailchimp for WooCommerce - This plugin is another official plugin from Mailchimp, but unlike the other one, this one has been updated as recently as a month ago as of this writing.
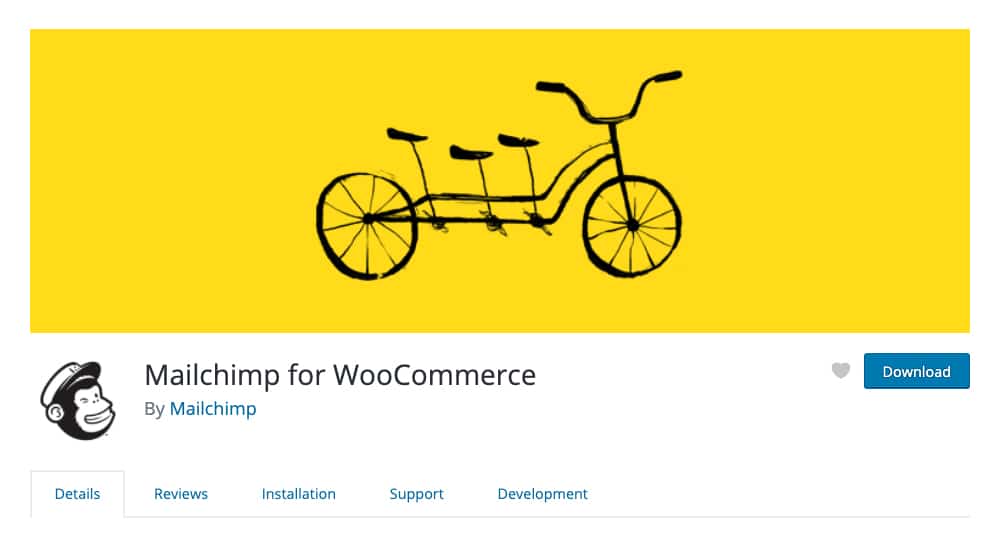
It is, however, not focused on blogs so much as storefronts. It's an integration between Mailchimp and WooCommerce, another of the major WordPress plugins. In a nutshell, what it does is harvests data on your customers when they make a purchase, and adds their contact information to your mailing lists and contact management system. It can also make that data available for use in Mailchimp-powered social media advertising.
Easy Forms for Mailchimp - This plugin by Yikes is basically an easy way to access the Mailchimp form builder without having to go through Mailchimp directly to do it.
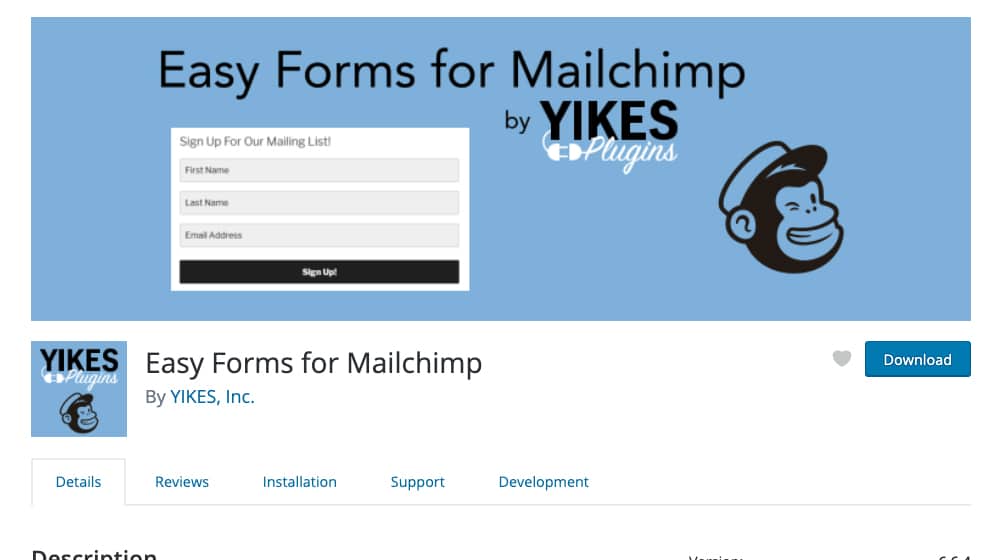
You can build new forms from directly within your WordPress dashboard, and embed them where you want them without having to go to Mailchimp to mess with their dashboards to do it. It's really more of a convenience thing than any new features, but it can be handy to have around. If you're also looking to add a FAQ section to your blog posts, there are similarly helpful plugins available for that.
Mailchimp Forms - This is another form plugin, this time by MailMunch.
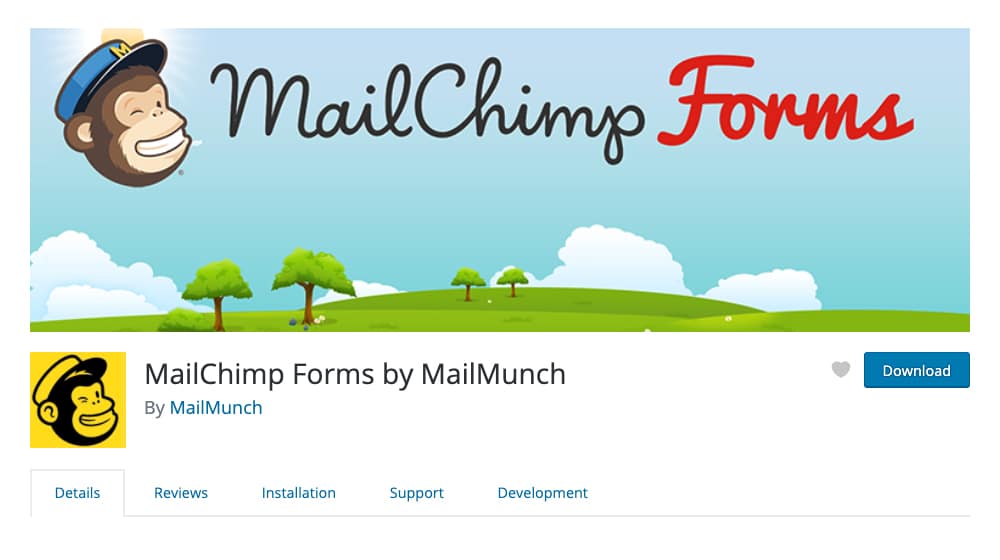
It's similar to Easy Forms in that it allows you to make new forms from within WordPress, to use on your WordPress blog or in your storefront. The difference is, they have a lot more templates and form setups available for you to use. Again, it's more of a shortcut than anything truly new, but it's useful.
MC4WP - Mailchimp for WordPress is a plugin by ibericode, with a lowercase "i". It's almost as if they said to themselves, "what if someone made the basic Mailchimp for WordPress plugin, but made it good?"
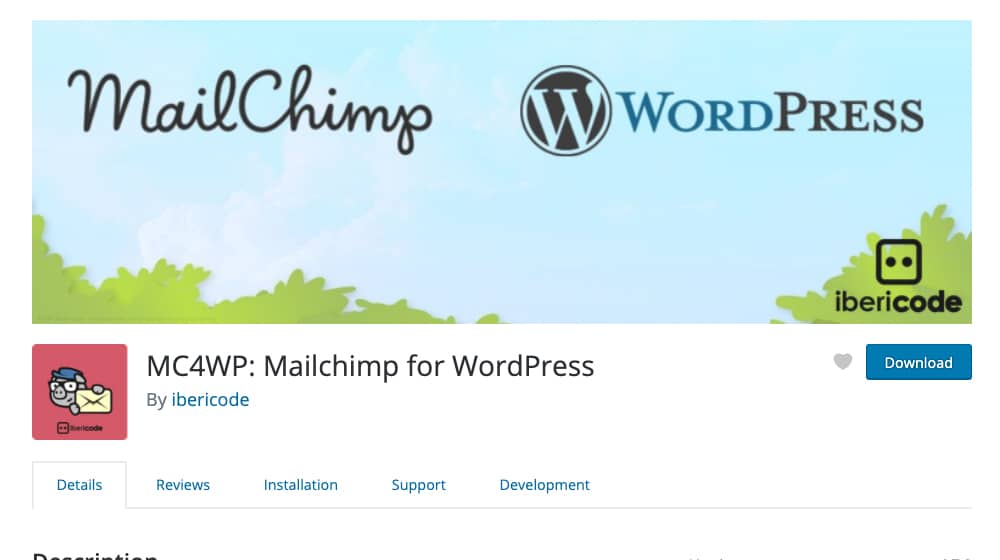
It does everything you would want a Mailchimp plugin to do, including integrating with a wide range of other plugins including Gravity Forms, WPForms, Contact Form 7, MemberPress, BuddyPress, and a whole lot more. Plus, it's widely used, it's kept up to date, and it's compatible with all of the most recent versions of WordPress. If you ever need to add a new user in WordPress, the process is similarly straightforward. What's not to love?
Do you have any other options in mind for adding Mailchimp to your site? What's worked out best for you? Let us know by leaving a comment below!
Written by James Parsons
Hi, I'm James Parsons! I founded Content Powered, a content marketing agency where I partner with businesses to help them grow through strategic content. With nearly twenty years of SEO and content marketing experience, I've had the joy of helping companies connect with their audiences in meaningful ways. I started my journey by building and growing several successful eCommerce companies solely through content marketing, and I love to share what I've learned along the way. You'll find my thoughts and insights in publications like Search Engine Watch, Search Engine Journal, Forbes, Entrepreneur, and Inc, among others. I've been fortunate to work with wonderful clients ranging from growing businesses to Fortune 500 companies like eBay and Expedia, and helping them shape their content strategies. My focus is on creating optimized content that resonates and converts. I'd love to connect – the best way to contact me is by scheduling a call or by email.


November 24, 2020
I tried MailChimp for Woo but unfortunately, it doesn't work so I switched to Mailchimp Forms plugins, and now it's working well. I just don't understand why I keep getting an error with the Mailchimp plugin
November 25, 2020
Hey Dustin!
The official Mailchimp plugin hasn't been updated in a couple of years and is no longer supported.
I'm glad you got it working with another plugin though, hopefully my post was of some help!
October 13, 2022
I wonder why they stopped updating it. It's a shame.
February 25, 2021
I run a farmers market and we have a wp site. I send a weekly newsletter out via mailchimp and would like to know if there is a way to have that newsletter auto post on our website as current news or something, to continually provide fresh content to the website. I feel like Ive seen this done elsewhere - is it possible?
Thanks
Kathy
February 26, 2021
Hey Kathy!
I have heard of doing something like this - but with the steps reversed.
Instead of having your newsletters turned into posts, I recommend having your posts turned into newsletters. Mailchimp has an RSS integration that can pull blog posts from your site and create an email for your subscribers.
This way, you can simply blog as usual and as soon as you publish a new blog article, your newsletter will be notified as well.
I'm not sure if the opposite direction is possible, and you may have to change up your process a bit to accommodate this, but this would be the best way.
Run a Google search for "Mailchimp rss to email" and you'll find what you're looking for 🙂
Hope this helps!
March 15, 2021
Thanks! Going to try this.
March 15, 2021
Hey Donald, happy this helped you! Good luck 🙂
June 09, 2021
Oh Wow! So now I know that I am dumb with these things. I didn't know that it can be used for social media posting. Another dumb question, and i hope you don't mind, do you have any steps on how to link my accounts and schedule postings?
June 11, 2021
Hey Edward! There are no dumb questions here 🙂
I like Blog2Social for linking your social accounts to WordPress.
You'll need a paid subscription, but it's worth it.
Make sure you pick the right plan, their billing platform isn't the best and doesn't accommodate pro-rated upgrades or downgrades, so it's a hassle to upgrade down the line.